
Prevent Food From Sticking to a Soapstone Grilling Stone
Wondering how to prevent food from sticking to a soapstone grilling stone? Start with a clean, dry surface, let the stone preheat gradually, and give food time to release before turning it. Sticking is usually a matter of moisture, temperature, contact and timing, not a reason to scrape hard or coat the stone with a thick layer of oil. These practical steps can help you grill a variety of foods with more control on a soapstone surface.
How to prevent food from sticking to a soapstone grilling stone
Food can cling when its moist surface meets a hot cooking surface. It may begin to cook before it has formed enough structure to lift cleanly. Proteins, such as those in meat, fish and eggs, can adhere at first contact. Starchy foods may also catch when their outside is wet or soft. A piece that is moved too early can tear even when the surface and heat are otherwise suitable.
On a soapstone grilling stone, as on other cooking surfaces, the outcome depends on several things working together. Preheating helps create a more consistent cooking zone. Drying the outside of ingredients reduces excess surface moisture. A modest amount of cooking oil on the food can limit direct sticking, while a patient turn gives the underside time to cook. None of these steps guarantees that every ingredient will release perfectly, but they give you a dependable place to start.
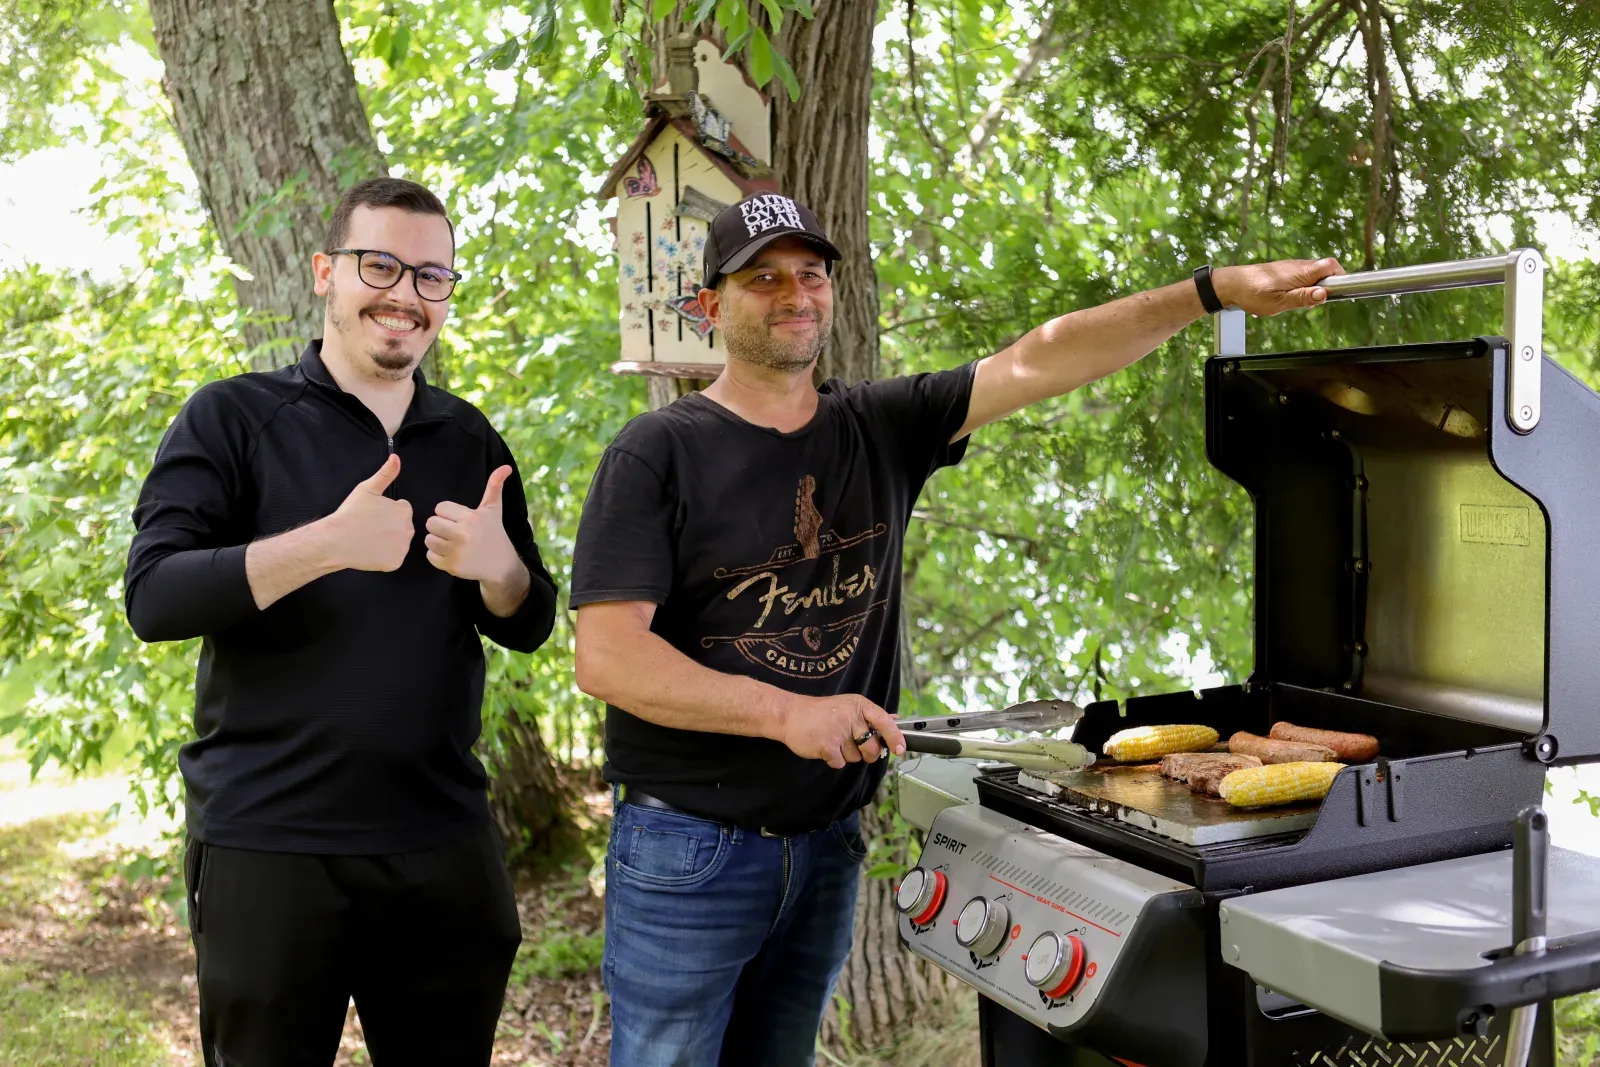
Greystone is a 16-by-8-by-three-quarter-inch soapstone cooking surface that is designed for grilling and barbecue. On a standard grill, allow about 20 to 30 minutes for preheating. Use that as a general starting point, and follow the product instructions for setup and use. To learn more about the grilling surface, visit the Greystone product page.
1. Begin with a clean, completely dry surface
Leftover food particles and moisture are easy to overlook. A small bit of cooked-on residue can catch a delicate ingredient, and a damp surface can interfere with the initial contact between food and stone. Before the next cook, make sure the stone has cooled safely, then remove residue using the care approach recommended for your product. Let the cooking surface dry fully before heating it.
Avoid starting with a wet stone or placing food onto a surface with visible water. Water droplets can create uneven contact and may affect how the food cooks. Do not try to compensate for residue by aggressively scraping or by adding a thick layer of oil. If you are unsure about cleaning tools or care instructions, consult the product guidance rather than improvising with harsh cleaners or metal implements.
Keep raw ingredients, marinades and their containers organized so drips do not carry raw juices onto cooked food or utensils. Food safety matters as much as easy release: use separate plates and utensils for raw and cooked items, and clean hands and work surfaces between tasks.
2. Preheat gradually and give the stone time
Place the stone on the grill according to its instructions and bring it up to cooking temperature gradually. Avoid trying to save time by exposing a cold stone to an abrupt, intense heat change. Soapstone resists thermal shock when heated and cooled gradually, so a patient warm-up is the sensible approach for the material as well as for cooking consistency.
For the Greystone on a standard grill, the stated preheat period is 20 to 30 minutes. A grill's heat source, weather and setup can affect how quickly a cooking surface warms. So use the time as a guide rather than assuming every grill behaves identically. A well-preheated surface provides a more even starting point than one that is still warming unevenly.
Do not use a quick test that risks burning yourself. Follow the product instructions and handle the hot stone and grill with appropriate heat protection. Keep children and pets away from the hot cooking area, and avoid moving a heated stone unless the instructions say it is safe to do so.
3. Prepare ingredients for better contact
Pat wet ingredients dry with a clean paper towel before they go on the grill. This is especially useful for food taken from a marinade, rinsed vegetables or thawed ingredients that have released liquid. You do not need to remove every trace of moisture; the goal is simply to avoid a layer of water pooling between food and the hot surface.
For marinated foods, let excess marinade drip off before cooking. Thick sugary marinades can brown or char quickly, and loose liquid can cool the contact area. Consider adding a delicate glaze near the end of cooking instead of placing a heavily coated piece on the stone from the start. Keep raw marinade separate from any sauce you plan to serve.
Cut ingredients into reasonably even portions so they cook at a similar pace. Very thin or irregular pieces can overcook in one area while another part is still releasing moisture. Smaller ingredients can be placed in a grill-safe basket if the product instructions permit that arrangement; do not crowd the stone or block its usable cooking area.
4. Use a light coating on the food, not a pool on the stone
A thin film of an appropriate cooking oil on the food can help reduce sticking. Toss vegetables lightly or brush a small amount onto the ingredient before cooking. For meat, use only what is needed to coat the outside. The aim is a slight sheen, not dripping oil or a puddle on the stone.
Excess oil can smoke, collect around food and make the cooking area messy. It is not a substitute for cleaning or proper preheating. If the food already has a naturally oily surface or a rich marinade, you may need little or none. Choose an oil appropriate for your cooking method and temperature, and keep it away from open flames.
Do not assume the stone needs to be seasoned like a pan or coated with oil before every cook. If the product guidance recommends a care treatment over time, follow it, but do not use a thick oil layer as an anti-stick shortcut. The practical tip here is modest: prepare the food with a light coating when useful, and avoid creating a slick of excess oil.
5. Leave room and let the first side cook
Arrange food with a little space between pieces. Overcrowding traps steam, makes it harder to maneuver a spatula and can cause different ingredients to cook at different rates. Work in batches if necessary. A manageable number of pieces makes it easier to observe what is happening and turn each one cleanly.
Once food is down, resist the urge to repeatedly lift, nudge or shuffle it. The first side needs time to cook and develop a firmer surface. If you try to turn it immediately, it may feel attached or break apart. Give it a little time, then test one edge gently with a suitable spatula. If it still resists, wait briefly and try again rather than forcing it.
Use a thin, sturdy spatula that fits the item and can slide under it without scraping aggressively. Lift with a controlled motion; do not stab, saw or lever hard against the stone. For small pieces, a suitable turner or grill-safe tool may be easier to manage than tongs that squeeze and tear them.
6. Match your approach to the food
Use the ingredient's texture to guide preparation and turning. This quick reference keeps the main release cues in one place.
Food type | Before grilling | When to turn |
Vegetables | Dry well, cut evenly and use a light coating of oil when appropriate. | When the edges look set and the piece lifts with a gentle edge test. |
Meat and poultry | Blot excess moisture and drain loose marinade. | When the first side has formed a firmer surface, using food condition rather than a fixed timer alone. |
Fish and delicate foods | Use sturdy portions, a clean dry surface and a suitable spatula. | After the first side has set enough to slide the spatula fully underneath. |
Soft or runny foods | Choose a grilling method or suitable accessory that provides containment when allowed by product guidance. | Only when the food is stable enough to lift without forcing or scraping. |
Vegetables
Dry vegetables after washing, cut them into pieces that will stay stable when turned, and lightly coat them with oil if appropriate. Place them in a single layer with room to maneuver. Tender slices may cook quickly, so check them sooner than dense pieces. If they are sticking, avoid dragging them across the surface; loosen an edge gently and turn only when they can lift.
Meat and poultry
Blot excess moisture from the outside, particularly after removing meat from a marinade. Set pieces down carefully and let the first side cook before testing. Thick cuts and thin cuts will not release on the same schedule, so use the food's condition, not a fixed timer alone, to decide when to turn. Use a food thermometer and follow recognized food-safety guidance for safe internal temperatures. Health Canada's general food safety tips are a useful reference for handling and cooking food safely.
Fish and other delicate foods
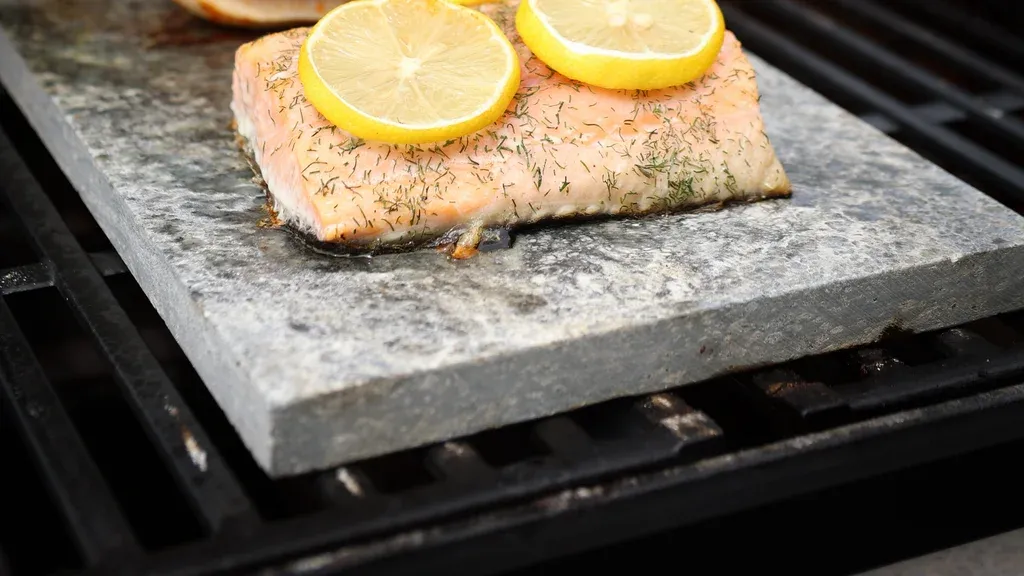
Delicate items need a particularly clean, dry surface and careful handling. Choose portions that are sturdy enough to turn, pat their outsides dry, and let the first side set before moving them. Slide a suitable spatula fully underneath before lifting. A grill basket can help with fragile pieces if it is compatible with the product instructions. Avoid overcrowding, which can make a precise turn more difficult.
Cheese, eggs and other easily torn foods
Foods with soft or runny structure can be more challenging on an open cooking surface. Use recipes and methods suited to grilling, and choose a heat-safe pan or grill-safe accessory when the food needs containment, provided the product instructions allow it. Do not try to force a delicate food to release by scraping hard; changing the cooking method or using a suitable accessory is often the more practical solution.
What to do when something begins to stick
First, pause. If the food is only partly cooked, immediate force can tear it and leave more residue behind. Let it cook a little longer, then ease a spatula under one edge. When it releases, lift it in one controlled motion. If it does not release, check whether the piece is ready to turn or whether its texture is too delicate for the technique you are using.
If residue remains after cooking, wait until the stone has cooled as directed before cleaning. Remove stuck-on bits using only the care method recommended for the product. Avoid pouring cold water onto a hot stone or making a sudden temperature change. Gradual heating and cooling is consistent with soapstone's thermal-shock resistance and helps avoid unnecessary stress on the material.
For a broader grilling primer, see Soapstone Pros' BBQ stone guide. Follow the specific guidance for the grilling stone you own, because accessories, cleaning methods and setup instructions can vary between products.
A simple pre-grill checklist
Check the product instructions and set up the stone as directed.
Start with a clean, fully dry cooking surface.
Preheat the stone gradually; Greystone's stated guide is 20 to 30 minutes on a standard grill.
Pat excess moisture from food and drain off loose marinade.
Use a light coating of cooking oil on ingredients when helpful, not a pool on the surface.
Leave space between pieces and let the first side cook before testing release.
Use a suitable spatula and turn gently rather than scraping or forcing.
Keep raw and cooked food separate and follow food-safety guidance.
Build a repeatable low-sticking routine
A simple sequence makes it easier to notice which adjustment helps. Before lighting the grill, review the product directions, gather the ingredients and tools you need, and prepare a clean place for cooked food. Dry the stone if needed, then set it up and preheat gradually as directed. While it warms, pat wet ingredients dry and drain excess marinade. Doing the preparation in this order avoids rushing food onto a surface that is not ready.
When cooking begins, start with a small batch and leave enough room to work. Place each piece deliberately, then watch for changes in its edges and surface instead of repeatedly moving it. Test one piece gently when it seems ready to turn. If that piece releases cleanly, use the same approach for the rest of the batch. If it resists, allow more time or adjust how wet, thick or delicate the next pieces are.
After cooking, let the stone cool according to its instructions before cleaning and storing it. Make a brief mental note of what worked: the type of food, whether it was dry, how much oil you used, and whether you waited before turning. Those observations can help you make a small, sensible change next time, rather than changing several variables at once. Grill conditions and ingredients differ, so treat each cook as a chance to refine your own routine, not as a promise that sticking can never happen.
Common mistakes that make sticking more likely
Putting food down before the stone is ready is a common source of trouble. If the surface is still warming, different areas may cook at different speeds and food may not set evenly. Build in the recommended gradual preheat instead of compensating with a longer, harder cook on one spot. Also resist turning the grill to its highest setting simply to rush the process; follow the product directions and control heat in a way that suits the ingredient.
Another common misstep is moving food repeatedly to check whether it has released. Each lift interrupts cooking and can pull at an outside layer that is still forming. Choose a reasonable placement, give the food time, then test once with a gentle edge lift. If it resists, wait a little and check again. This is more reliable than scraping under the entire piece or flipping it back and forth.
Excessive marinade, a wet ingredient and crowded placement can combine to create a layer of liquid around food. Drain and blot ingredients, work in manageable batches, and avoid pouring marinade directly onto the stone. Keep seasonings and sauces within the recipe's needs; a heavy coating is not a shortcut to flavour or easy release.
Finally, do not treat a cooking surface as if every food behaves the same way. A firm vegetable, a thick cut of meat and a delicate piece of fish have different textures and release cues. Adjust portion size and turning tool to the ingredient, and accept that some foods are better cooked in a grill-safe vessel if the product guidance permits it. Forcing a poor match usually creates more sticking, not less.
Frequently Asked Questions
Should I oil a soapstone grilling stone before cooking?
Do not assume the stone needs to be oiled or seasoned. Follow the product's care instructions. If a recipe benefits from oil, a light coating on the food can help; avoid excess oil pooling on the cooking surface.
How long should I preheat a Greystone grilling stone?
The stated preheat time for Greystone is 20 to 30 minutes on a standard grill. Preheat gradually and follow the product instructions. Grill setup and conditions can affect how heat builds, so do not treat the time as a substitute for safe handling directions.
Why does food still stick after I preheat?
Preheating is only one factor. Surface moisture, excess marinade, crowded food, insufficient time on the first side or an ingredient that is difficult to turn can also contribute. Dry the food, make space, wait before testing and use a suitable tool.
Can I scrape stuck food off while the stone is hot?
Do not scrape aggressively or use an unapproved tool. Let the stone cool as directed, then use the product's recommended cleaning method. Avoid sudden cooling, including pouring cold water onto a hot stone.

Comments